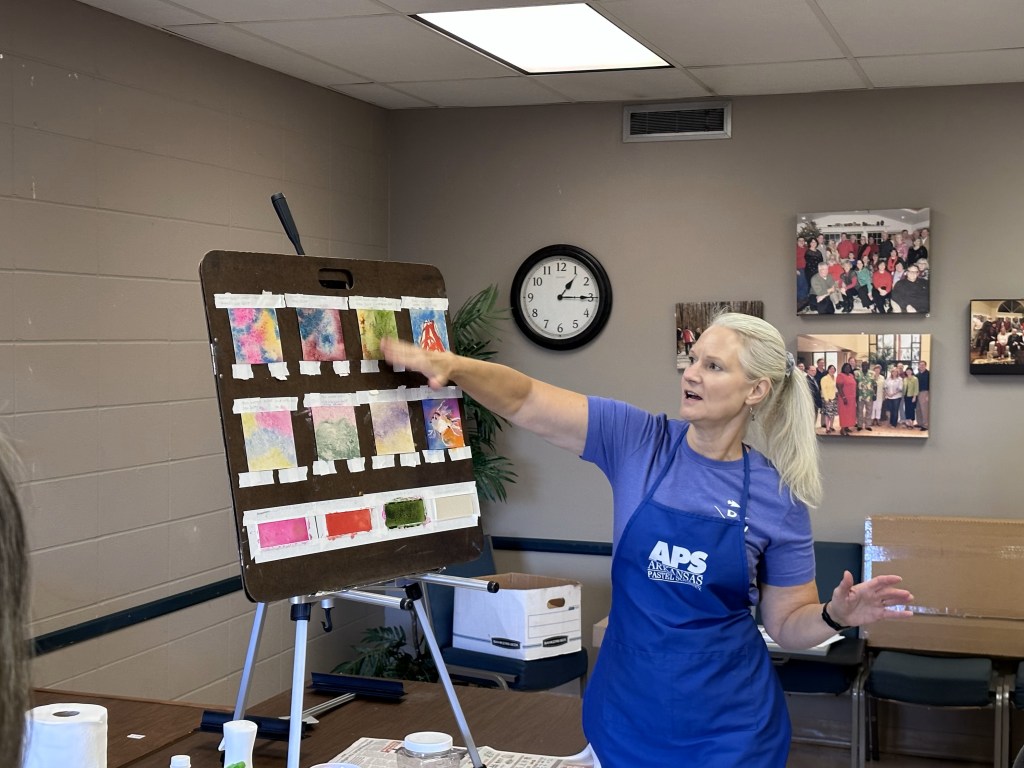
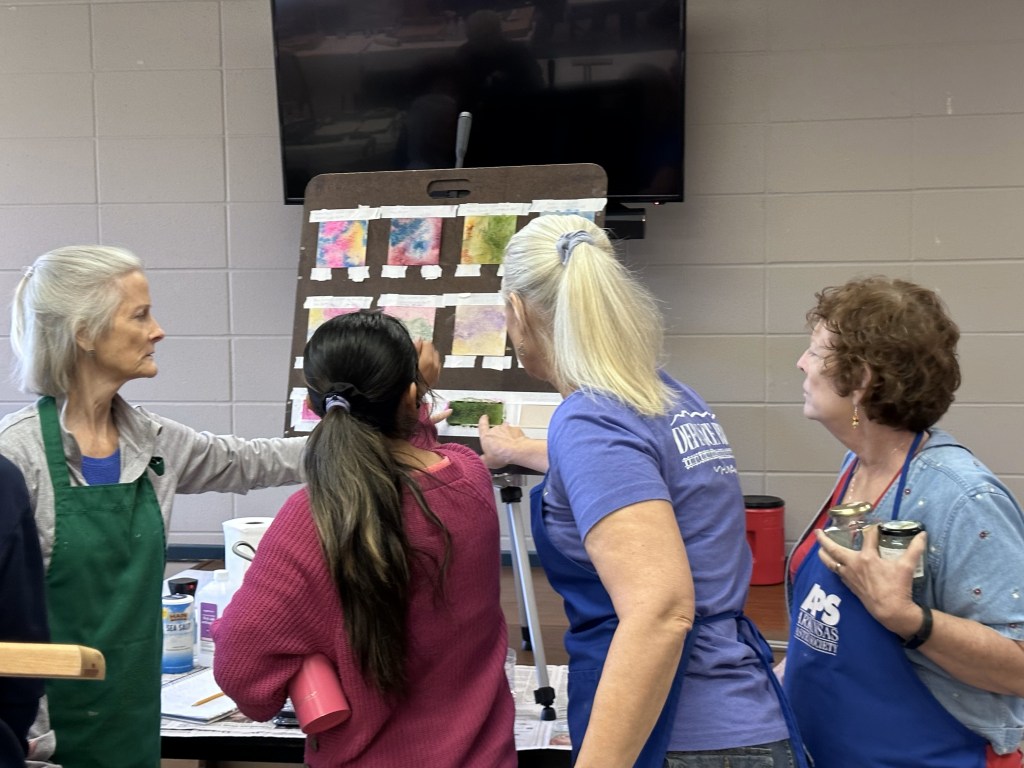
Today, I had the wonderful opportunity to co-lead a workshop for the Arkansas Pastel Society members. We each spent about two hours discussing and demonstrating our techniques. Within that time the artists followed along, practicing the techniques and developing the beginning of a painting. It was so fun to work with each artist and see how they applied the techniques to their work. No two pieces were the same. I wish I had taken photos of their work.
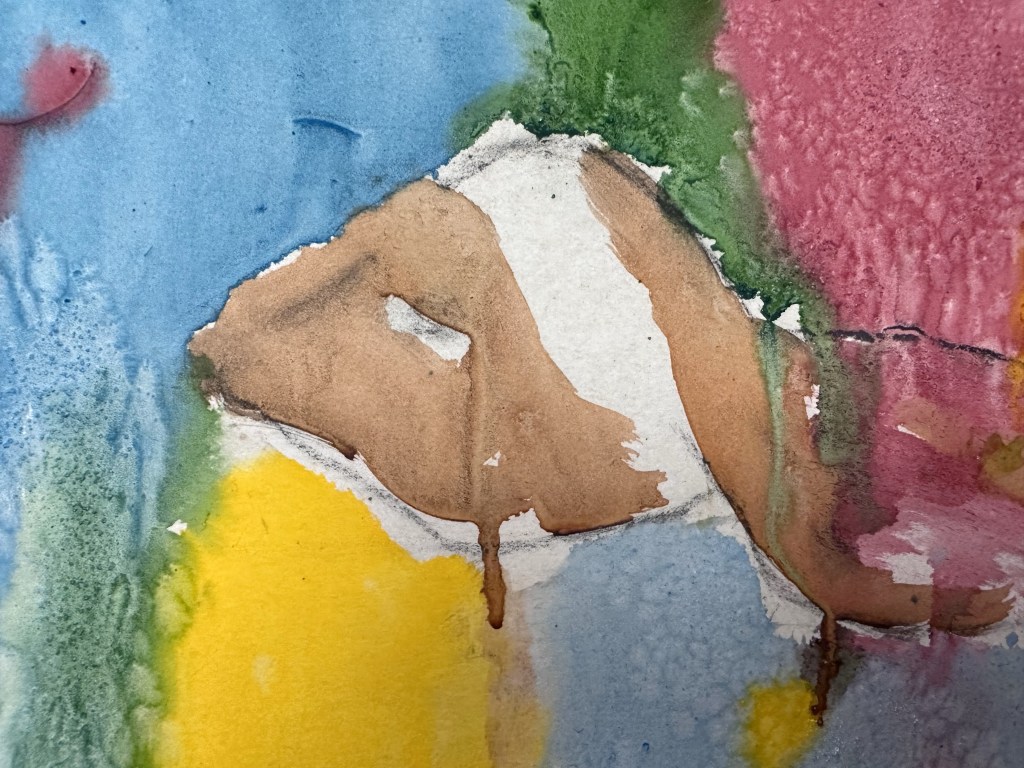
I taught the artists how to use watercolors and salt to create interesting patterns and textures. This is a technique that I learned in a workshop I took with Frankie Johnson at Mainstreet Art Center. In the first picture in the slideshow below, you will see several small sheets of paper, each is an experiment using various salts, water, and alcohol. (My four-year-old grandson Bearrett loves experiments; he helped me create all the squares on the board.) Then we moved on to create a fish painting.
- Prepare the Paper: Begin with UArt Sanded Paper or any paper suitable for wet applications. Wet the paper down with either water or alcohol.
- Apply Watercolors: Once the paper is wet, apply watercolors. The wet paper will interact with the watercolors in a unique way, creating patterns, textures and fun drips.
- Experiment with Salt: Sprinkle different types of salt, such as table salt, sea salt, or Himalayan salt, onto the wet watercolor. Each type of salt may create different effects and patterns as it interacts with the paint and paper.
- Let It Dry: Allow the paper to dry thoroughly. As it dries, the salt will absorb some of the moisture and pigment, leaving behind intriguing textures.
- Remove the Salt: Once the paper is completely dry, gently dust off the salt. This step reveals the textures and patterns created by the salt and watercolor.
- Apply Pastel: Strategically apply pastels to the paper allowing the underpainting to show through and leverage the interesting marks the salt left. In the paining of the fish, I see patterns that would make great seaweed and coral.
This technique offers a wide range of creative possibilities, from realistic nature scenes, underwater effects to abstract art. It’s a great way to experiment with texture, color, and composition in your artwork.


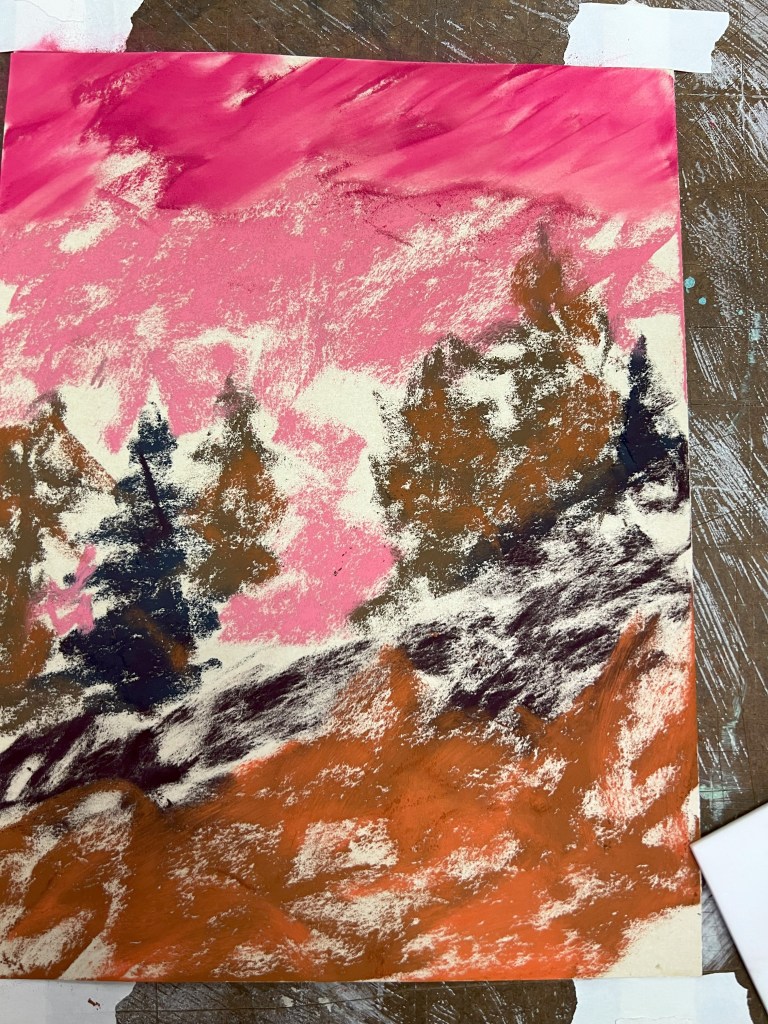
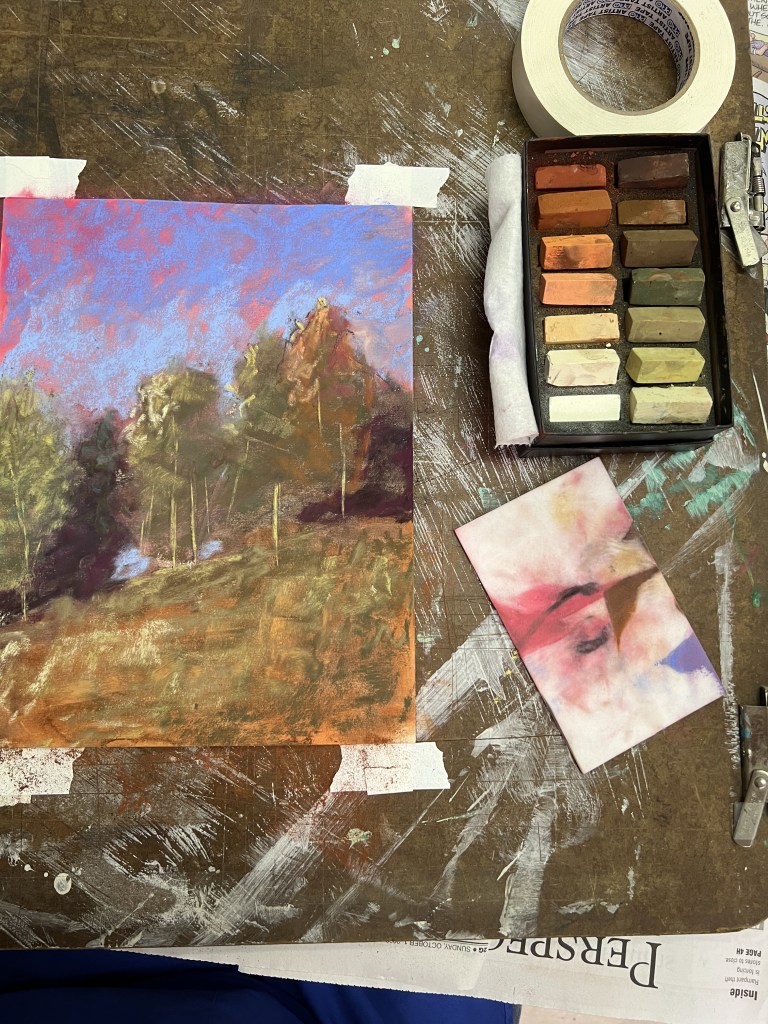
Debbie Strobel showed us how to use Derwent Inktense Blocks. By applying a thin layer of inktense and then using water to liquefy them. We did complimentary colors i.e., the compliment to green on the color wheel is red. They are called ink”tense”, in my mind, because the colors are in”tense” especially if you apply them with a heavy hand. Once dry, apply the pastel and allow some of the underpainting to peek through. Here are photos of my follow-along, using my new Terry Ludwig Pumpkin Spice pastel set.
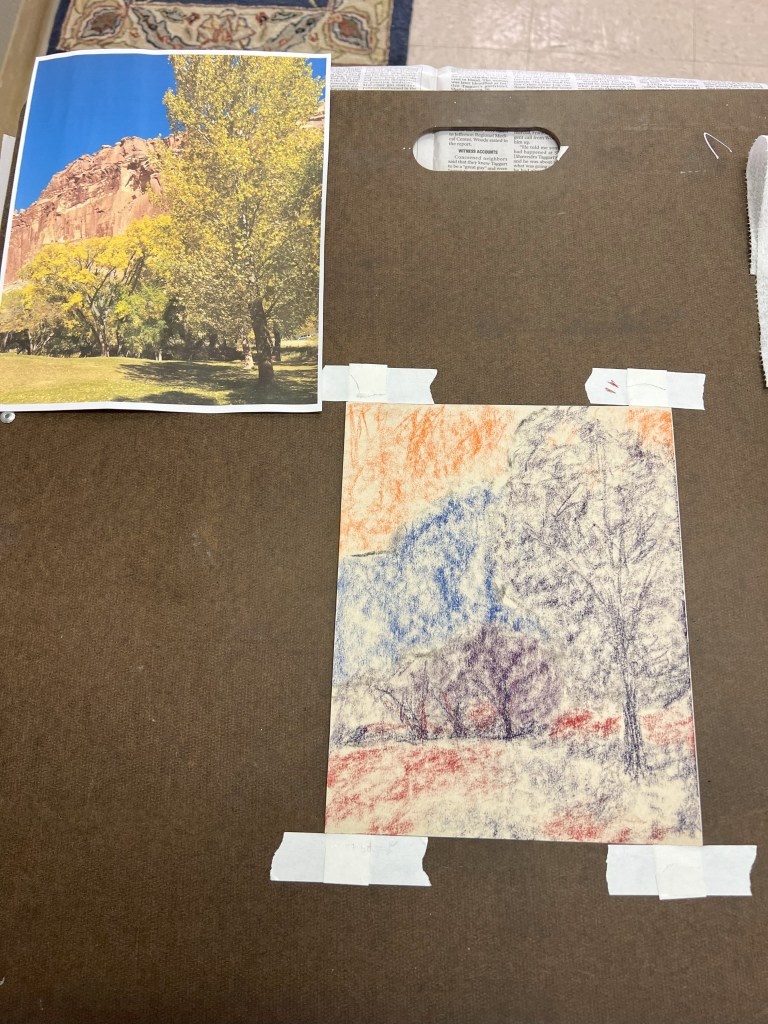
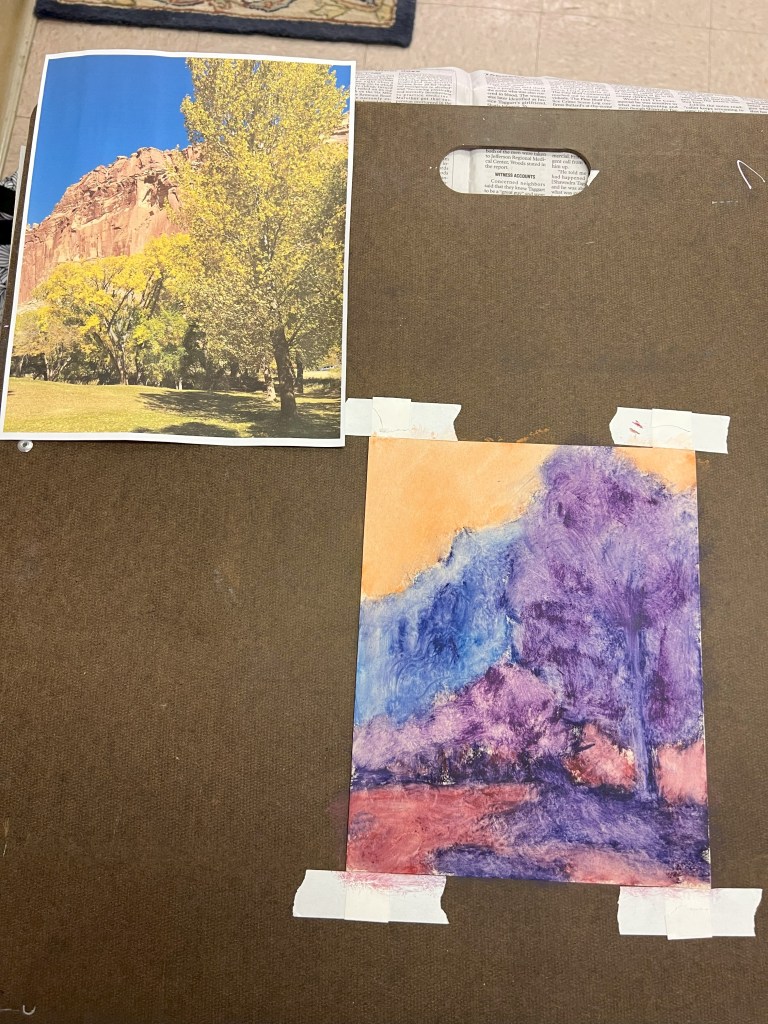
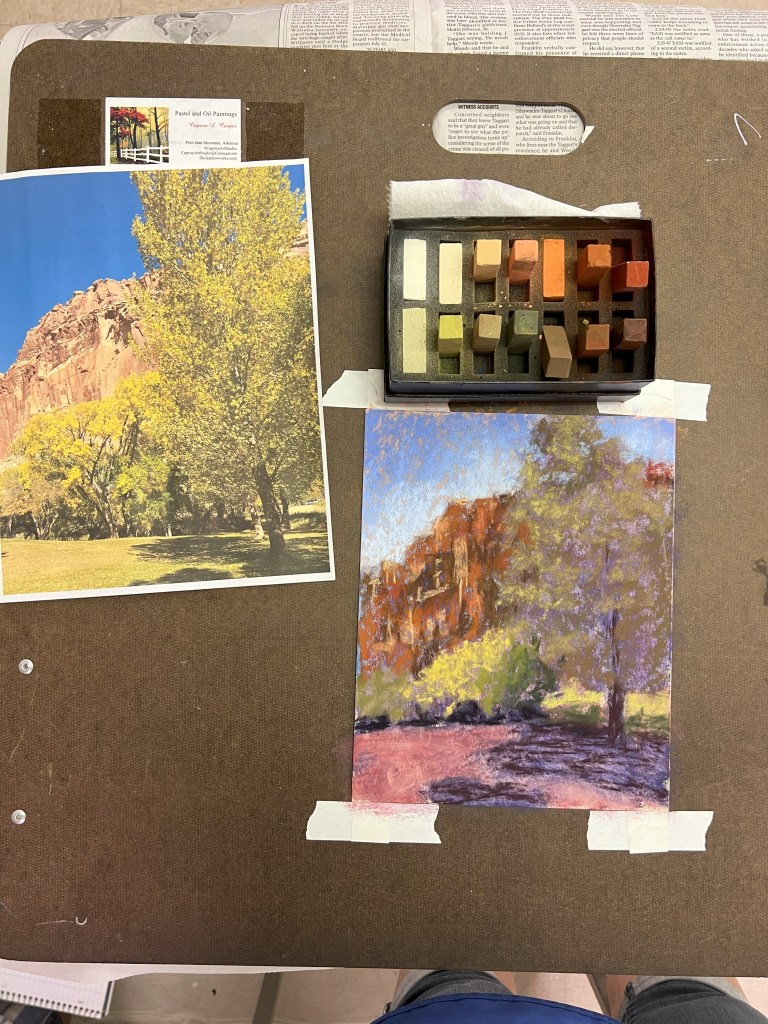
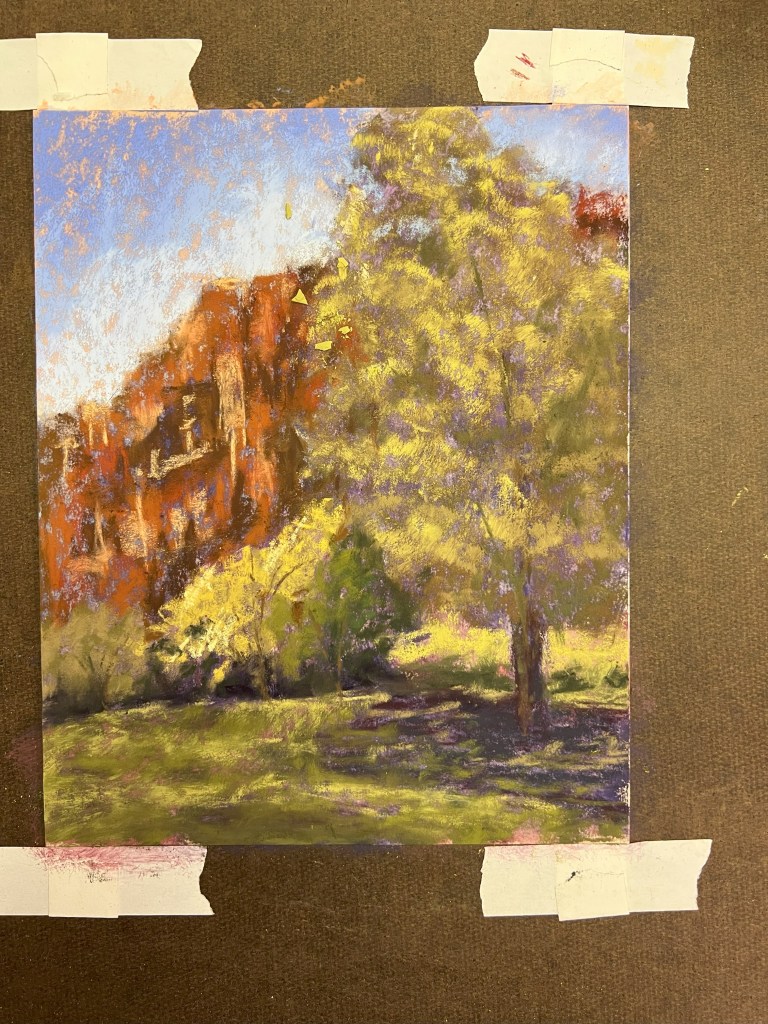
Susan Hurst taught us how to do pastel underpainting. She introduced how to use Mr. Clean eraser sheets as a tool to knit/blend the colors in the sky, dab the texture in the trees, and use it to remove some pastels to create branches. I’ll say I wasn’t as productive with this one as I believe I put down too much pastel and when I went to blend, I muddied my colors. I’ll have to try this again at home.
One thing I’ve learned from attending workshops, you are there to learn a technique that you can later take back to refine and adapt to your style. If you come out with a finished piece, great, but that is not the purpose. Have fun, experiment, and try something new.
